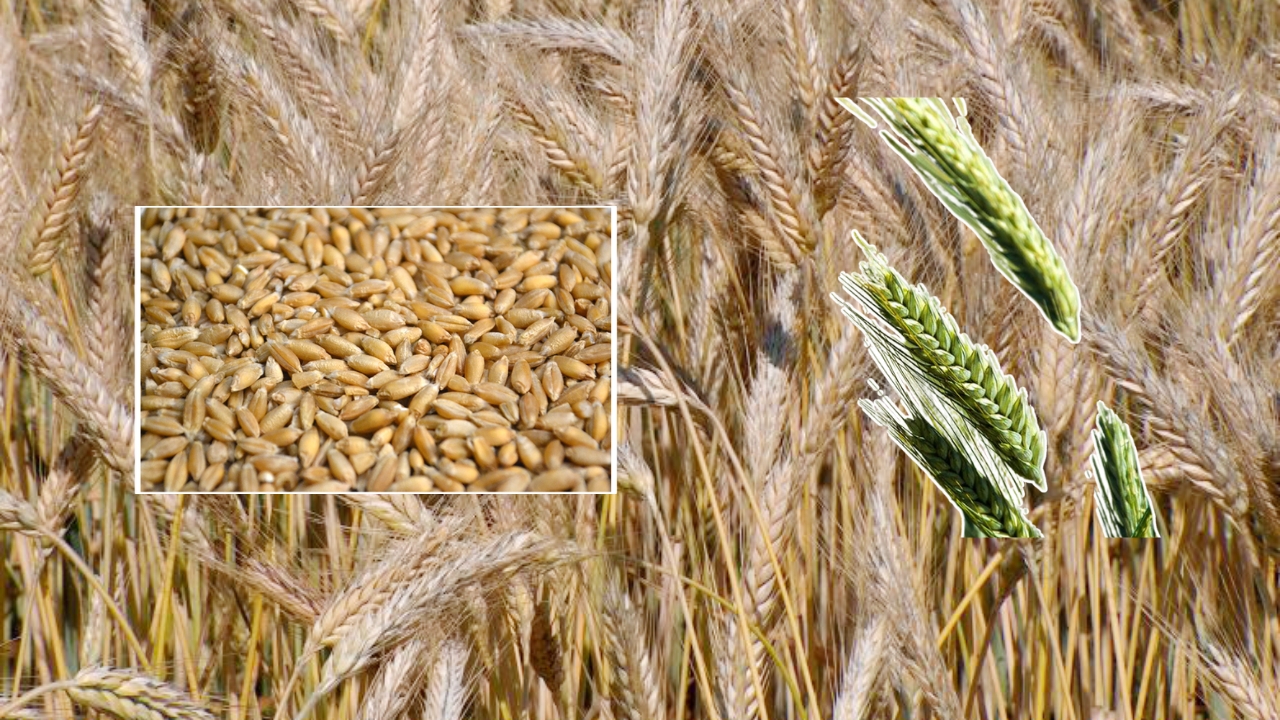
Triticale is a hybrid grain created by crossing wheat and rye, combining the high yield potential of wheat with the resilience and hardiness of rye. For beginners and experienced growers alike, triticale offers a reliable crop that performs well in a range of climates and soil conditions. It is commonly used for animal feed, forage, and sometimes for human consumption in baked goods and cereals.
One of the main advantages of triticale is its adaptability. It can tolerate poorer soils better than wheat and has a stronger resistance to certain diseases and environmental stresses. This makes it an excellent choice for farmers and home growers looking for a low-risk, productive grain crop.
Understanding the Ideal Growing Conditions
Before planting triticale, it’s important to understand the conditions it thrives in. Triticale prefers cool climates and grows best in regions with moderate rainfall. It can be planted as either a winter or spring crop, depending on your location.
The crop grows best in well-drained soils with a neutral to slightly acidic pH level, ideally between 5.5 and 7.0. While it can tolerate less fertile soils, better soil quality will result in higher yields. Adequate sunlight is also essential, as triticale requires full sun exposure for optimal growth.
Temperature plays a key role as well. Winter triticale requires a period of cold (vernalization) to develop properly, while spring varieties do not. Choosing the right variety for your region is crucial for success.
Preparing the Soil for Planting
Proper soil preparation sets the foundation for a healthy triticale crop. Begin by clearing the field or garden area of weeds, debris, and previous crop residues. This helps reduce competition for nutrients and minimizes pest problems.
Next, loosen the soil by plowing or tilling to a depth of about 15 to 20 centimeters. This improves aeration and allows roots to penetrate easily. If possible, incorporate organic matter such as compost or well-rotted manure to enrich the soil.
It’s also a good idea to conduct a soil test before planting. This will help you determine if any nutrients are lacking and allow you to apply the appropriate fertilizers. Balanced fertilization, especially nitrogen, phosphorus, and potassium, supports strong early growth.
Choosing the Right Seeds and Planting Time
Selecting high-quality seeds is essential for a successful crop. Look for certified triticale seeds that are suited to your climate and resistant to common diseases in your area.
Planting time depends on whether you are growing winter or spring triticale. Winter triticale is typically sown in late autumn, allowing it to establish before the cold season. Spring triticale, on the other hand, is planted in early spring as soon as the soil is workable.
In regions like central India, planting winter varieties around October to November is common, while spring varieties can be sown from late January to February. Timing your planting correctly ensures the crop avoids extreme heat during critical growth stages.
Step-by-Step Guide to Planting Triticale
Start by marking rows in your prepared field. Rows should be spaced about 15 to 20 centimeters apart to allow proper air circulation and root development.
Sow the seeds at a depth of 2 to 5 centimeters. Planting too shallow may expose seeds to birds, while planting too deep can delay germination. Aim for a seeding rate of approximately 100 to 120 kilograms per hectare, depending on seed size and soil conditions.
After sowing, lightly cover the seeds with soil and press gently to ensure good seed-to-soil contact. This helps with moisture absorption and promotes uniform germination.
Water the field immediately after planting if rainfall is not expected. Consistent moisture during the early stages is crucial for successful establishment.
Watering and Irrigation Practices
Triticale is relatively drought-tolerant compared to many other cereal crops, but it still requires adequate moisture at key growth stages. These include germination, tillering, and grain filling.
In rainfed conditions, natural rainfall may be sufficient. However, in areas with irregular rainfall, supplemental irrigation is beneficial. Typically, two to three irrigations during the growing season can significantly improve yield.
Avoid overwatering, as waterlogged conditions can lead to root diseases and poor plant development. Well-drained soil is essential to prevent these issues.
Fertilization and Nutrient Management
Proper nutrient management is vital for maximizing triticale yields. Nitrogen is the most important nutrient, as it supports leafy growth and grain development. Apply nitrogen in split doses, with a portion at planting and the rest during early growth stages.
Phosphorus promotes strong root development and should be applied at the time of planting. Potassium helps improve disease resistance and overall plant health.
Organic fertilizers such as compost can also be used to improve soil structure and provide slow-release nutrients. Monitoring your crop for signs of nutrient deficiency, such as yellowing leaves, can help you make timely adjustments.
Weed, Pest, and Disease Control
Weed management is especially important during the early stages of growth when the crop is still establishing. Weeds compete for nutrients, water, and sunlight, which can significantly reduce yields.
Manual weeding or the use of appropriate herbicides can help keep the field clean. Mulching is another option for smaller plots.
Triticale is generally more resistant to pests and diseases than wheat, but it is not completely immune. Common issues may include fungal diseases and occasional insect infestations. Regular field monitoring allows you to identify problems early and take corrective action.
Crop rotation is an effective strategy to reduce disease buildup in the soil and improve long-term productivity.
Growth Stages and Crop Monitoring
Understanding the growth stages of triticale helps you provide the right care at the right time. The crop begins with germination, followed by tillering, stem elongation, heading, and finally grain filling.
During tillering, the plant produces additional shoots, which directly influence yield. Ensuring proper nutrition and moisture at this stage is critical.
As the crop approaches heading and flowering, it becomes more sensitive to stress. Avoid water shortages and nutrient deficiencies during this period to ensure good grain formation.
Regular observation of plant health, color, and growth patterns will help you detect any issues early and maintain a strong crop.
Harvesting Triticale at the Right Time
Harvesting at the correct time is essential to ensure good grain quality and minimize losses. Triticale is ready for harvest when the grains are hard and the plants turn golden yellow.
The moisture content of the grain should ideally be around 12 to 14 percent. Harvesting too early can result in immature grains, while delaying harvest may lead to shattering and losses.
For small-scale growers, harvesting can be done manually using sickles. Larger farms typically use combine harvesters for efficiency.
After harvesting, allow the grains to dry properly before storage. Proper drying prevents mold growth and maintains grain quality.
Storage and Post-Harvest Management
Once harvested and dried, store triticale grains in a cool, dry, and well-ventilated area. Use clean storage containers or bags to prevent contamination.
Protect the grains from pests such as insects and rodents by using airtight containers or natural repellents. Regular inspection during storage helps ensure the grain remains in good condition.
Proper post-harvest handling not only preserves quality but also ensures better market value if you plan to sell your produce.
Final Thoughts for Beginners
Growing triticale is a rewarding experience, especially for beginners looking for a resilient and versatile crop. With proper planning, soil preparation, and timely care, you can achieve a healthy and productive harvest.
Its adaptability, combined with relatively low maintenance requirements, makes triticale an excellent choice for both small-scale gardeners and larger agricultural operations. By following these step-by-step guidelines, you can confidently cultivate triticale and enjoy the benefits of this unique hybrid grain.