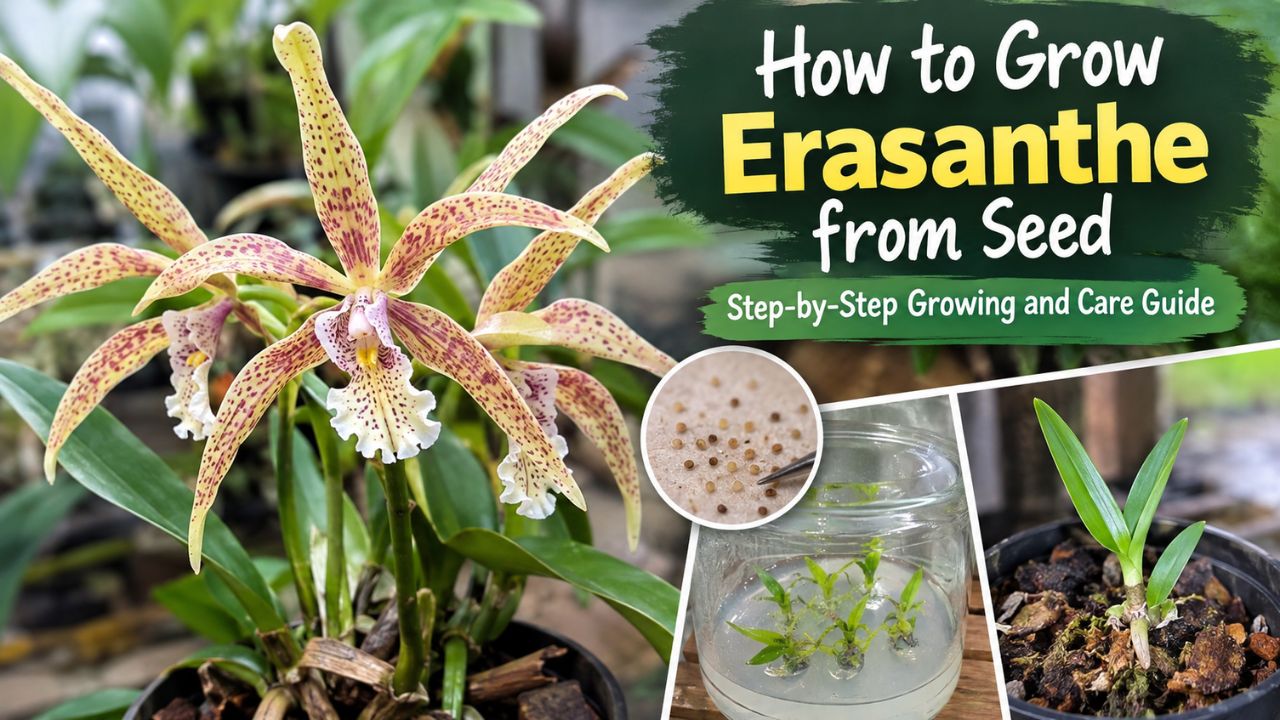
Growing Erasanthe from seed can be a rewarding project for gardeners who enjoy raising unusual plants from the earliest stage. Erasanthe is a tropical orchid genus, best known for producing attractive flowers and developing as an epiphytic plant in warm, humid conditions. Because orchids can have very specific germination requirements, growing Erasanthe from seed is considerably different from starting common garden plants such as tomatoes, marigolds, or herbs.
The most important point to understand is that orchid seeds are extremely small and contain very little stored food. In nature, they depend on a relationship with specific fungi to obtain the nutrients needed for germination and early development. For this reason, successful Erasanthe seed propagation generally requires sterile conditions and a suitable orchid-flasking medium rather than ordinary potting soil.
With patience, careful hygiene, and appropriate growing conditions, however, it is possible to take an Erasanthe seed-growing project from sowing through the early stages of plant development.
Choosing Fresh and Viable Erasanthe Seeds
Seed quality has a major influence on the outcome of any propagation project. Orchid seeds are tiny, dust-like structures, and their appearance alone does not reliably indicate whether they are viable. Whenever possible, obtain seed from a reputable specialist source and confirm the species, collection date, and storage conditions.
Freshly produced seed is generally preferable, particularly when you are working with a species for which germination information is limited. If seed has been stored, it should have been kept under appropriate conditions to preserve viability.
Before sowing, prepare everything you need in advance. Once orchid seeds are exposed to a prepared growing medium, contamination from bacteria, fungi, or airborne spores can quickly overwhelm the developing seedlings.
Preparing the Growing Medium
Unlike most garden seeds, Erasanthe seeds should not simply be scattered over compost and watered. They generally require a nutrient-containing medium designed specifically for orchid seed germination.
For serious propagation, sterile flask culture is the standard approach. A suitable orchid seed medium provides moisture, minerals, sugars, and other nutrients that the developing embryo cannot obtain from the seed itself. Commercial orchid seed-germination media can simplify this process because they are formulated specifically for the nutritional requirements of orchid embryos.
The containers, tools, medium, and working environment must be thoroughly sterilized. Even a small amount of contamination can produce mold or bacterial growth that competes with or destroys the germinating seeds.
Home propagation is possible, but sterile technique is one of the most difficult parts of the process. Beginners may find it more practical to use professionally prepared sterile culture materials or work with an experienced orchid propagator.
Sowing Erasanthe Seeds Step by Step
Begin by preparing the sterile culture containers and allowing the growing medium to cool completely after preparation. The medium should be moist but not excessively watery.
Because Erasanthe seeds are extremely fine, handle them carefully. They should be distributed over the surface of the medium rather than buried deeply. Orchid seeds need access to the appropriate moisture and environmental conditions, and burying them in ordinary soil is unlikely to produce satisfactory results.
After sowing, seal the culture container securely. The goal is to maintain a clean, humid environment while preventing airborne contaminants from entering.
Place the containers somewhere warm with bright but indirect light. Strong direct sunlight can cause the temperature inside a sealed container to rise rapidly and may damage the developing embryos.
Do not repeatedly open the containers to check the seeds. Maintaining sterility is more important than frequent inspection.
Providing the Right Temperature and Light
Warm, stable conditions are essential for tropical orchid propagation. Exact temperature requirements vary between Erasanthe species, so species-specific growing information should be followed whenever available.
As a general principle, avoid sudden temperature changes and prolonged exposure to cold conditions. A consistently warm environment encourages steady development, while excessive heat can encourage contamination or damage delicate tissues.
Light should be bright enough to support development without creating intense heat. Filtered daylight or suitable artificial grow lighting can provide a controlled environment.
Once seedlings have developed, their light requirements will gradually become more similar to those of established orchids, but young plants remain particularly sensitive to dehydration, temperature extremes, and excessive sunlight.
Understanding Germination and Early Development
Orchid seed germination can be slow, and patience is essential. Instead of immediately producing a recognizable leaf and root system, the embryo typically passes through several developmental stages before becoming a young plant.
Under suitable conditions, the seed may swell and develop into a protocorm-like structure. Eventually, the first leaves and roots begin to appear. The exact timing can vary considerably depending on the species, seed freshness, culture medium, temperature, and other environmental factors.
Do not assume that a lack of visible growth after a short period means the seeds have failed. Orchid propagation often requires a longer time frame than conventional seed starting.
At the same time, watch for obvious contamination. Cloudy medium, unusual discoloration, spreading mold, or rapidly growing fungal colonies can indicate that a culture has become contaminated.
Caring for Developing Erasanthe Seedlings
As seedlings become larger and develop leaves and roots, their nutritional and environmental needs change. They should continue receiving stable warmth, appropriate humidity, and gentle light.
Young orchid seedlings should never be allowed to dry out completely. However, excessive moisture combined with poor air circulation can create conditions favorable to fungal problems.
Humidity should therefore be balanced with ventilation as the seedlings become established. A humid environment is beneficial, but stagnant conditions are not necessarily ideal.
Fertilization should be approached cautiously. Very young seedlings growing in nutrient-rich culture media generally do not require the same feeding routine as established plants. Once plants are transferred into a suitable orchid-growing environment, a dilute, balanced orchid fertilizer may be introduced according to the plant’s developmental stage.
Moving Erasanthe Seedlings Out of Culture
One of the most delicate stages is transferring seedlings from sterile culture into normal growing conditions. Plants raised in sealed containers have developed in an environment with very high humidity and limited exposure to ordinary household or outdoor conditions.
Removing them too quickly can result in severe dehydration.
When seedlings are sufficiently developed, they can be carefully removed from the culture container and cleaned of residual medium. Damaged or unhealthy material should be handled gently and removed only when necessary.
The young plants can then be placed in a clean, fine-textured orchid medium that provides both moisture retention and adequate air around the roots. Suitable materials may include fine bark, sphagnum-based mixtures, or other orchid media selected according to the species and growing environment.
For the first few weeks after transfer, maintain relatively high humidity while gradually introducing more normal airflow.
Watering and Humidity After Transplanting
Water management becomes particularly important once Erasanthe seedlings leave sterile culture. The growing medium should remain appropriately moist without staying saturated for long periods.
The exact watering frequency depends on temperature, humidity, pot size, growing medium, and airflow. Rather than following a rigid calendar, check the condition of the medium and roots.
In warm, dry conditions, seedlings may need more frequent attention. In cooler or more humid conditions, watering may need to be reduced.
Good air movement helps excess moisture evaporate and reduces the likelihood of fungal problems. Avoid placing young plants in a completely stagnant environment simply because they require high humidity.
Common Problems When Growing Erasanthe From Seed
Contamination is one of the most common difficulties during orchid seed propagation. Mold and bacteria can spread rapidly through a culture and may prevent successful development. Thorough sterilization and careful handling are therefore essential.
Another problem is attempting to germinate the seeds in ordinary soil. Erasanthe seeds do not have the substantial food reserves found in many familiar garden seeds, so conventional soil-based propagation is generally unsuitable.
Temperature fluctuations, excessive light, poor humidity control, and premature transplantation can also affect young seedlings.
If seedlings develop slowly, resist the temptation to repeatedly change their environment. Stable conditions are often more useful than constant adjustments.
How Long Does Erasanthe Take to Grow From Seed?
Growing Erasanthe from seed is a long-term project rather than a quick gardening experiment. Germination may take time, and the transition from a microscopic embryo to a recognizable seedling can be gradual.
Even after successful germination, orchids typically require considerable time to reach maturity. The period before flowering can vary greatly between species and growing conditions.
This extended timeline is one reason orchid seed propagation is best approached with realistic expectations. The early stages are about maintaining healthy development rather than achieving rapid growth.
Final Tips for Successful Erasanthe Propagation
The key to growing Erasanthe from seed is consistency. Start with viable seed, use an appropriate orchid culture medium, maintain sterile conditions during germination, and provide stable warmth and gentle light.
Once seedlings emerge, avoid excessive watering, harsh sunlight, sudden environmental changes, and premature fertilization. When they are large enough to leave culture, acclimatize them gradually to normal growing conditions and use a well-draining orchid medium.
Most importantly, be patient. Erasanthe seed propagation requires more care and time than conventional seed growing, but successfully raising a young orchid from seed can be an exceptionally satisfying gardening experience. With careful attention to cleanliness, humidity, temperature, light, and gradual acclimatization, growers can give these delicate tropical orchids the foundation they need to develop into healthy mature plants.
